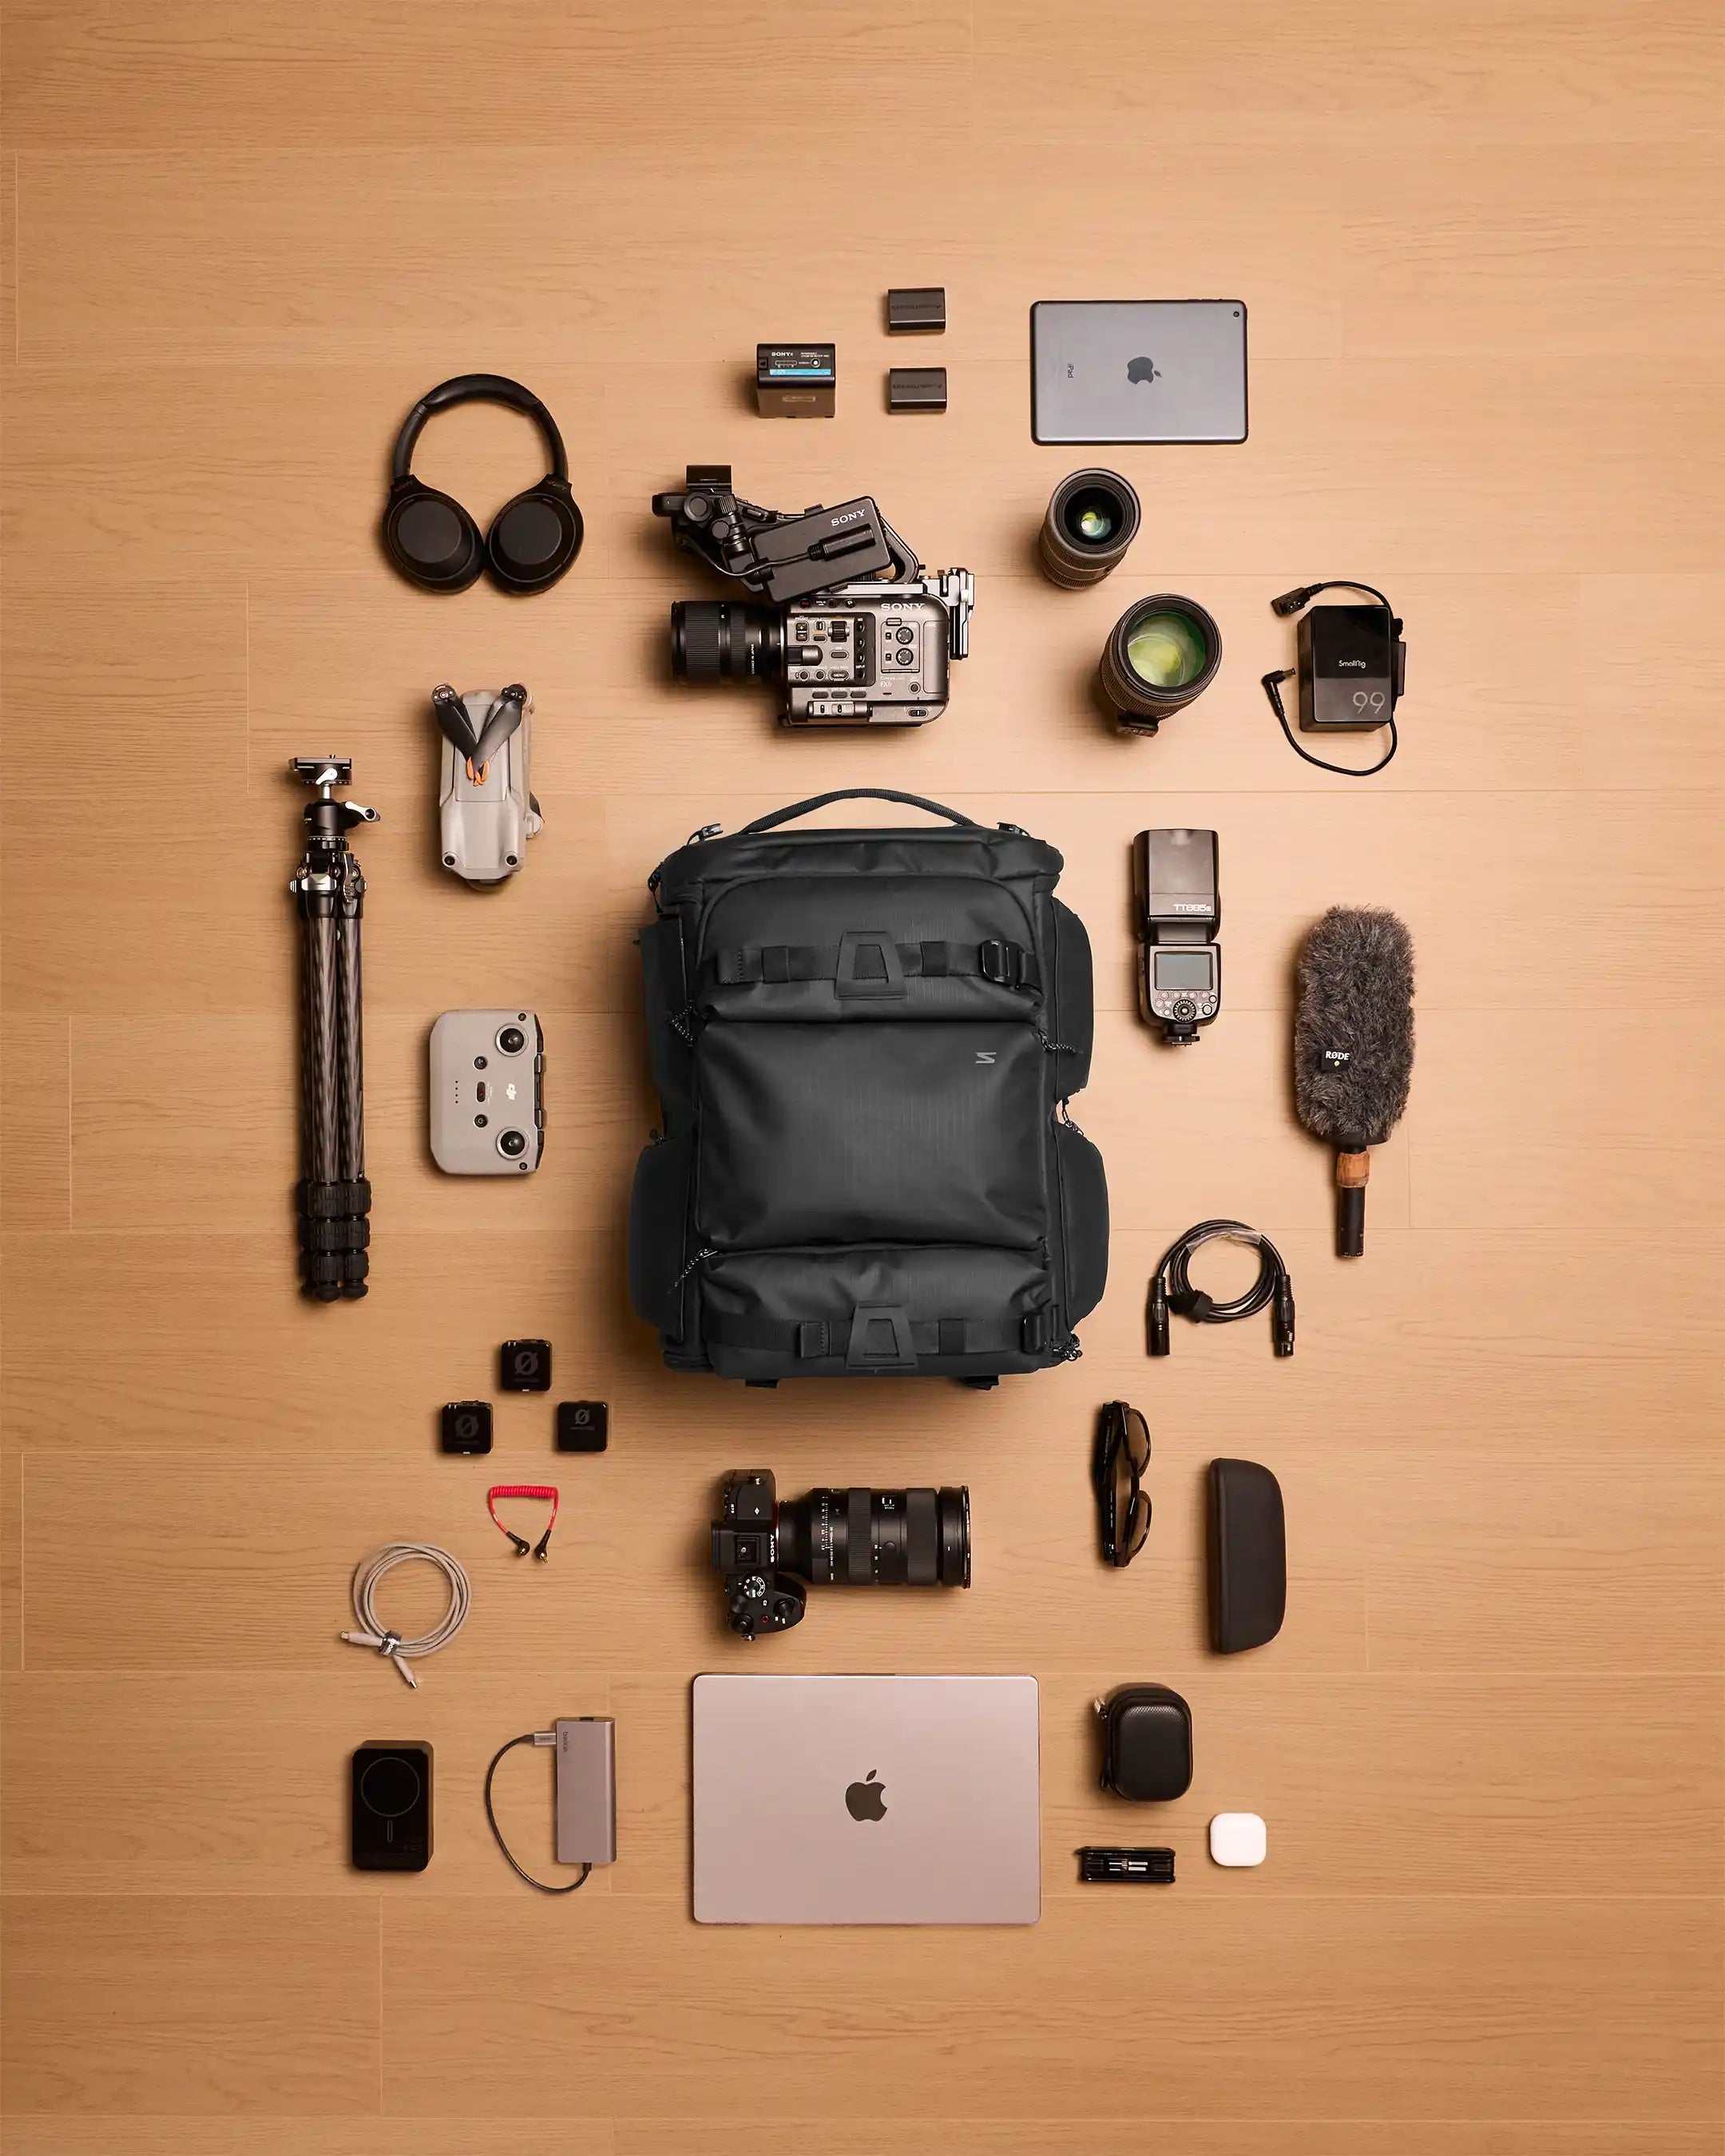
Being a travel photographer means you get to see and capture new places. But packing your camera bag for travel photography is not always easy. You want to make sure all your gear is safe and easy to find when you need it. If your camera bag is a mess, it makes you miss good photos and could harm your camera gear. This guide gives you tips on how to pack your camera bag the right way. You will find out how camera cubes and organizers help you keep everything in place and make your travel photography better and simpler.
Why Efficient Packing Matters
Your camera gear costs a lot, so it is important to pack it the right way. Careful packing is the best way to keep the camera gear safe from hits, drops, and bad weather when you travel. If every lens, battery, and memory card has its own place in your camera bag, you make sure that the things do not move around or break. This makes travel photography better and helps you get good photos while having a more relaxing time.
Top Packing Tips for Travel Photography
For any travel photographer, having a good camera backpack is important. Think of it as a place to keep all the things you need. You have to organize your gear, so your camera lenses are safe but you can get to them fast, even when you’re walking on the street. You need to plan where things go for quick access and safety. With these camera packing tips, you will have a system that keeps your attention on the photos, not on looking for your equipment.
1. Choose a Backpack That Works for You
Your backpack is your mobile studio, and it needs to do two things really well: protect your gear and make it easy to reach when the perfect shot appears. A good backpack has solid padding, smart compartments, and quick access points, like side or top openings, so you can grab your camera without having to take everything out. Some photographers add camera cubes or inserts, while others go for backpacks with built-in organization. The key is choosing a system that feels natural to you and keeps your gear safe and ready whenever inspiration strikes.
2. Organize Tech Accessories
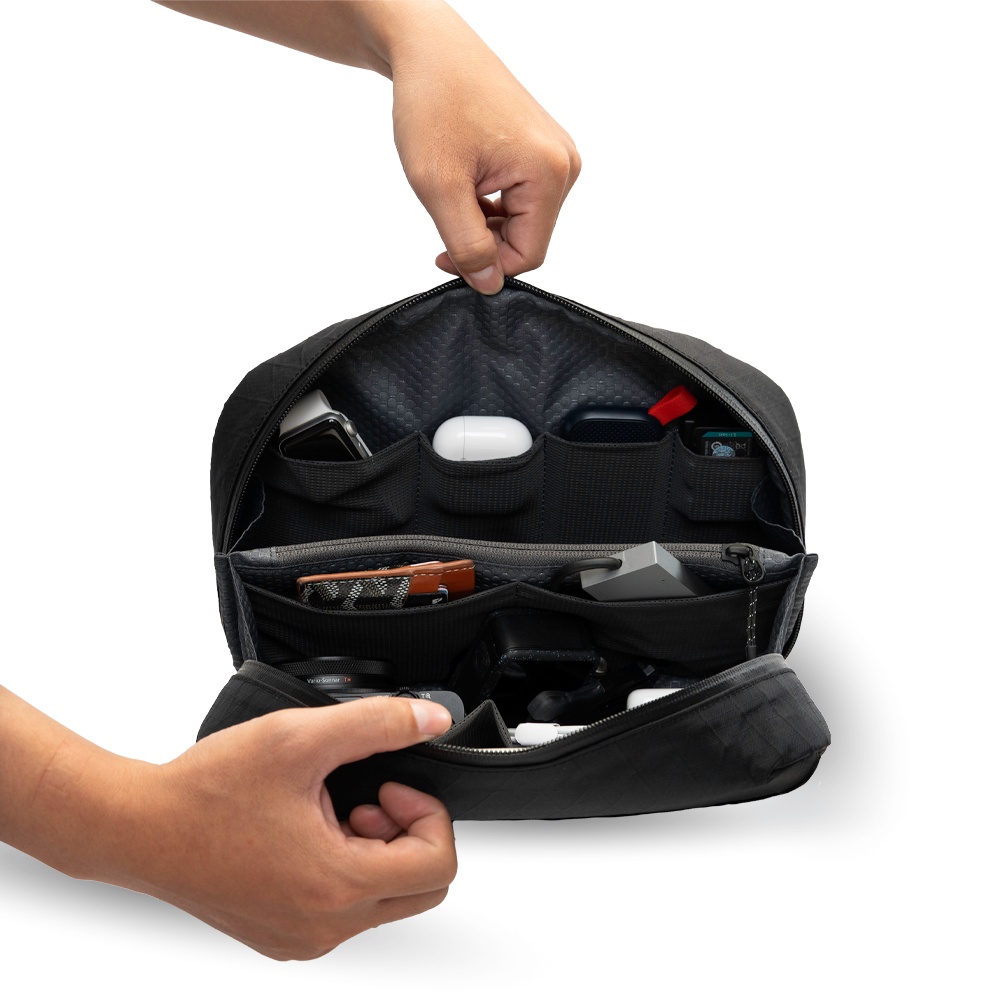
A travel photographer needs more than just a camera and some lenses in the camera bag. There are many camera accessories, and it is easy to lose them in a large bag. That is why tech organizers and accessory pouches are so helpful.
Keep all your charging gear in one, memory cards and readers in another, and cleaning supplies in a third. Color-coded or transparent designs make it easy to spot what you need instantly. This way, your main camera compartment stays clutter-free, and you’ll never have to dump everything out on the floor just to find a cable.
3. Pack Strategically by Shoot Type
You do not have to take every piece of your gear on each trip. It is best for a travel photographer to pack for where they are going and what type of photos they want to get. If you’re heading out for landscapes, a wide-angle zoom and a lightweight tripod are usually enough. On a wildlife trip, a telephoto lens will be your best friend. Exploring cities? A versatile 24–70mm zoom or even a simple prime lens does the trick. By packing based on your shot list, you’ll lighten your load, protect your gear from unnecessary wear, and enjoy the trip without being weighed down.
4. Protect Fragile Gear with Layers
Your camera gear is made to last, but it can still get damaged. It is important to use the right padding and layers in your camera bag. This keeps your items snug so they do not move or hit each other when you travel. This is important to protect parts like the camera sensor and lens.
Use padded dividers to give each piece its own secure spot. Put heavier gear, such as your camera body with a lens, at the bottom and in the middle for better balance. Lighter things can go at the top or in side pockets. Don’t leave empty gaps, fill them with soft items like a microfiber cloth, scarf, or even a beanie. Not only does this stop things from rattling around, but it also gives your most fragile gear, like sensors and lenses, an extra layer of protection.
5. Use Modular Packing for Flexibility
Modular packing makes it easy to change up your travel setup. You do not need to use just one camera backpack all the time. Instead, with a modular system, you use things like camera inserts, lens pouches, and clips. This helps you fix your carry to fit what you need for the day.
If you go hiking for the day, use a small camera insert inside your bigger trekking backpack. This leaves room for clothes and snacks. If you walk in the city, you can just use a lens pouch on your belt. That way, you pick the camera backpack and camera bag parts that are the right size. You get protection, and you get to your gear fast when you need it.
6. Separate Everyday Essentials from Specialty Gear
Your camera bag is not just for your camera gear. When you travel, you may also keep items like wallet, passport, snacks, and a jacket in it. To make sure you have easy access to your camera accessories, it's important to keep these types of things in their own compartments or small pouches.
Many travel backpacks are built with separate sections for personal items and camera gear. If yours is not, you can still create a system by using organizers. Keeping everyday essentials apart from equipment ensures you can quickly grab what you need without disturbing your carefully packed gear.
7. Label & Color-Code Gear
When you are busy during a shoot, every second is important. It can help to use a simple labeling and color system. This saves you time, especially with small things that look the same, like batteries and memory cards.
Try using a small piece of colored tape or a label maker to mark your gear. Mark your batteries with tape to show which are fully charged and which need recharging. Use a pouch that separates memory cards into full and empty slots so you do not have to guess. Labeling cables and chargers is also a smart move when you are traveling with multiple devices. These small habits save time, reduce mistakes, and let you stay focused on capturing great images.
8. Optimize Backpack Weight Distribution
How you pack your travel backpack makes a big difference. It is not just about keeping things neat. The way you pack can affect how comfortable you are and how long you can keep going. If the weight is not spread out well, you can get pain in your back and shoulders. This can make you stop early on your photography trips. You need to pack your things in a way that gives you balance.

Put your heaviest items, like your camera body and the biggest camera lenses, in the middle of the bag. Keep them close to your back. This keeps your center of gravity steady. It can help take off some of the weight from your shoulders. Pack the light things you do not use often either at the top, bottom, or in outside pockets. A backpack packed this way will feel lighter. It will be easier and nicer to carry. You can go out and explore more, without getting tired as fast.
9. Weatherproof Your Packing
Weather can change fast, and water does not work well with the electronics in your travel camera. Even if your camera comes with some weather sealing, do not make that your only line of defense. Good weatherproofing is something you must always do when you get ready for travel photography.
You should always bring rain covers for the camera and the backpack. You can use a simple plastic rain sleeve on your camera to keep it safe if you get caught in surprise rain. This way, you get to keep shooting. For your bag, use a rain cover that fits over it, whether it is built in or bought on its own, and this will keep your camera and other things dry.
10. Travel-Friendly Security Tips
Keeping your camera gear safe when you do travel photography is about more than just adding some padding. You have to be careful about security, especially in crowded tourist spots. Your camera bag can get the attention of thieves, so you should do a few easy things to protect it. When using public transport, it is safer to wear your backpack in front of you where you can see it. Also, never put your gear in checked luggage since it is out of your sight and at risk. Simple habits like these protect your gear and give you peace of mind while you focus on creating.
Bonus Tips & Common Mistakes
Knowing what to do is important. Knowing what not to do matters just as much. It can help you save money, keep your files safe, and not miss chances to take photos. Many people learn these lessons when it is too late, but you do not have to. So, let’s look at ways to avoid these problems when you go on your trips.
Neglecting to Backup Data
Imagine what it would be like to lose all the photos from your big trip. That risk is real if you do not have a good way to back up your pictures. The safest routine is a “two-copy rule.” Each night, transfer your files to your laptop, then copy them again onto a portable SSD. This is perfect because it’s small, fast, and built for travel. This way, even if your laptop dies or your card goes missing, your photos are safe in at least one other place. Think of it as insurance for your memories.
Leaving Out Rain Covers
“It’s not supposed to rain.” People often say this, but many times, the weather is not what we think. Trusting the forecast and leaving rain covers at home can be a big mistake. Carrying a lightweight rain cover for your backpack is an easy safeguard. Slip it over your bag and you’ll keep every pocket dry.
Mixing Used and Unused Memory Cards
Few things are more frustrating than pulling out your camera and realizing every card in your pouch is either full or a mystery. A much better way is to use a memory card wallet or pouch that has different spaces. Put the new memory cards in the wallet with the label facing up. When one card is full, turn it over so the label faces down. This makes it easy to see which cards are ready and which ones are full.
Forgetting chargers, cables, or memory cards
Running out of battery halfway through a shoot is every photographer’s nightmare. Make a packing checklist just for electronics and camera accessories. This works better than just thinking about what you took. Try keeping a small "go-bag" with the cables and a spare charger you need. When you need them, you just pick up the pouch and that’s it.
Conclusion
To sum up, smart packing makes every trip smoother for photographers and filmmakers. With the help of cubes, pouches, and organizers, you can keep your gear safe, your essentials easy to find, and your focus on capturing great shots instead of digging through clutter. A little planning goes a long way toward protecting your equipment and avoiding common mistakes. If you want a simpler all-in-one solution, check out Sakk Gear’s Axis Clip and Carry Cell to keep travel lighter, neater, and stress-free. Have a great trip and enjoy your shooting!
Frequently Asked Questions
How can I make sure my camera gear is insured while traveling?
Even with the best packing habits, accidents and theft can still happen. Travel photographers should look into gear-specific insurance or add camera equipment to their travel insurance policy. Having this backup means you can shoot with peace of mind, knowing you’re financially protected if something unexpected happens.
Can I fit all my essential photography gear using packing cubes and organizers?
Yes. If you use a clever packing method, you can put all your important gear in one bag. Place your camera and lenses in the main camera cube. Use smaller organizers to keep all your camera accessories. This way, you save space and also get easy access to everything as a travel photographer.
Share:
Why a Tote Bag Is a Must-Have for Everyday Life